CATEGORY; WEB / IT - FREE TUTORIALS.
HOW TO UPDATE/RESTORE YOUR iPHONE 4, 4s, 5G, 5C, 5S, 6G - 6S & PLUS, 7 & 7 PLUS, 8 & 8 PLUS, X, Xs & Xs Max and Finally Xr
Good day to you all.
Here we will be showing you how to update or Restore your iPhone.
Right away, first things first:
Read all the procedure to know what needs to be done before commencing.
Before you continue with these instructions we will hope you do have a knowledge on how to manipulate a PC and your iPhone very well, because we will not be able to help you for any issue or Error that will occur during the process as a result of a mistake.
You should not do the update/restore for your iPhone if the following are not ok.
1 – Hope you have not tempered with the security measures of your iPhone (meaning hope your iPhone has never being Jail-break).
2 – Hope your iPhone hasn’t being solve from a major Error (like Error 9,-1 or 4013 just to name a few) but can still be updated.
3 – Your battery needs to be in good condition and it should be at least 30 - 40 percent charge.
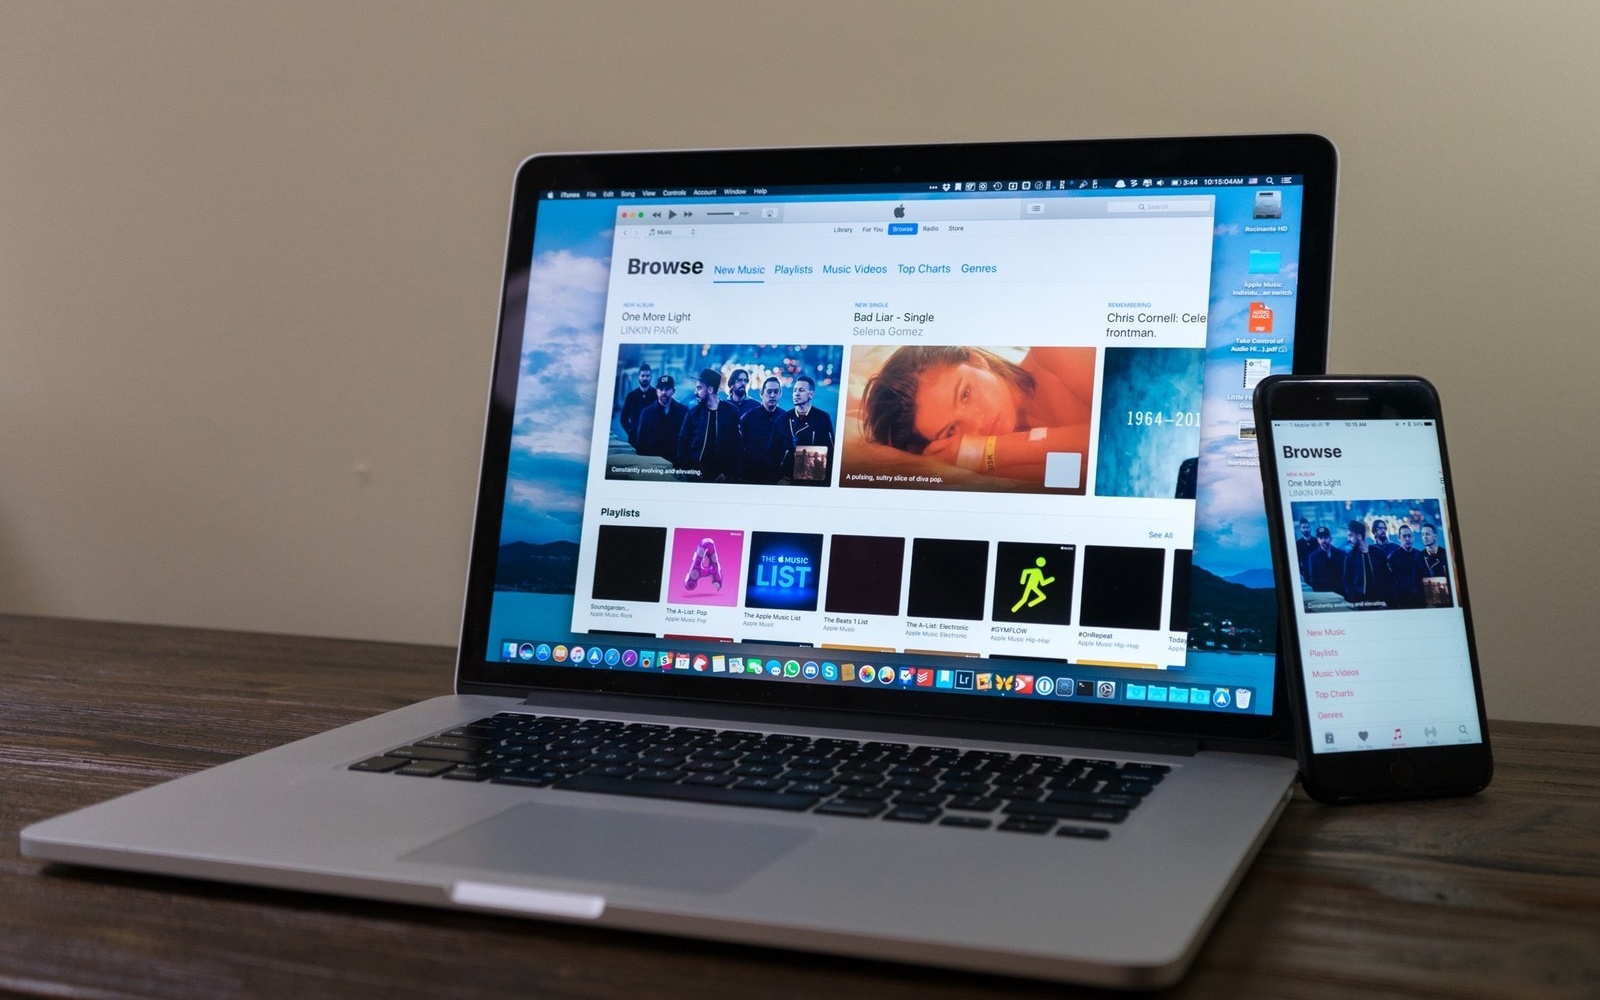
WHAT YOU DO NEED.
- You will need a good USB cable which is working and can connect your Pc and iPhone without any issue – Because a faulty cable may cause some set-backs.
- You will need a computer either be it a Mac PC / windows, any one will do, and a Laptop will be better that keeps power, just in case the light goes off or something is to happen with the power supply.
- Next, make sure your pc is connected to the internet (which is reliable and fast, slow network will gives error).
- Now do check the iTunes of either the Mac PC or windows (in the windows PC Make sure iTunes is installed in it, if not then you will need to download iTunes from apple or any other good site like filehorse.com and installing it to your PC) and do make sure is up-to-date. (You can do this by going to the about section of the iTunes and checking for any update – when this blog was uploaded iTunes was at Version 12.9 - and do update it first before continuing like you will have issues if you don’t.)
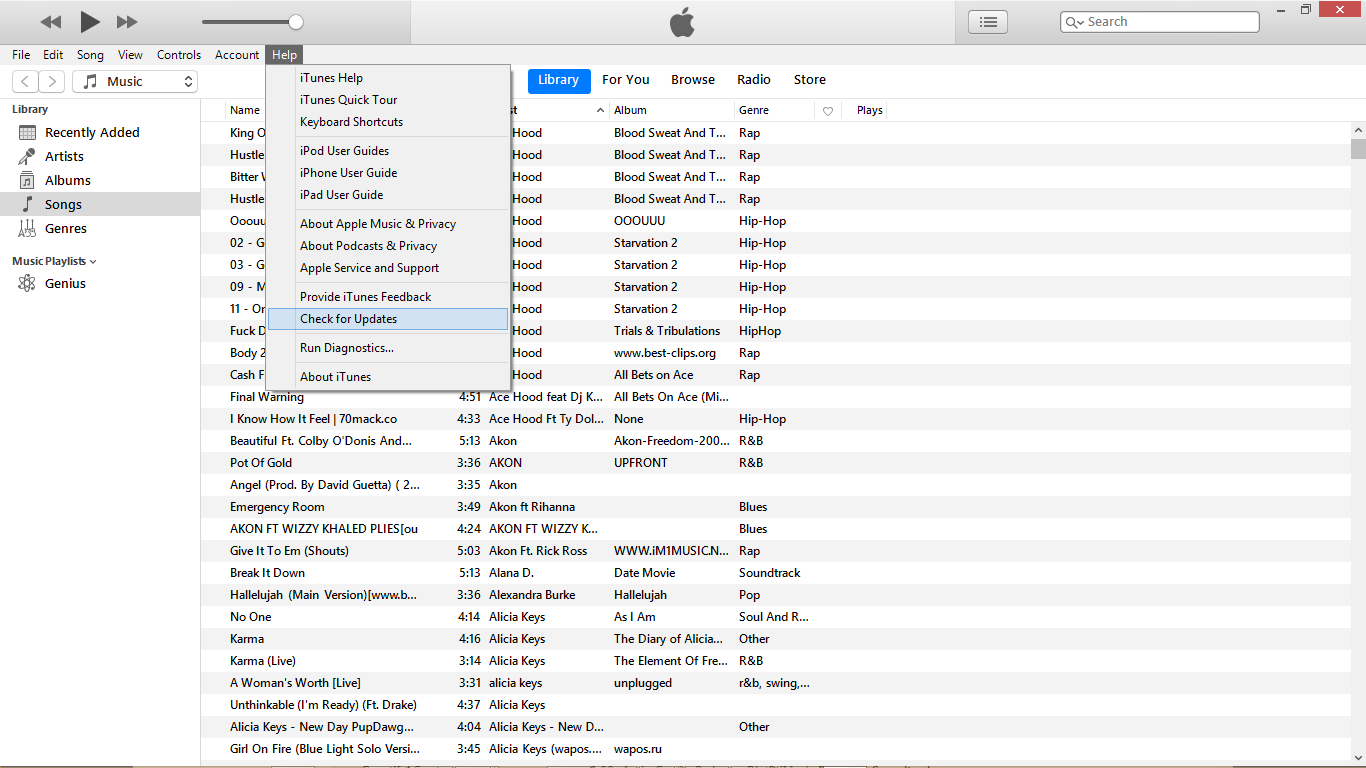
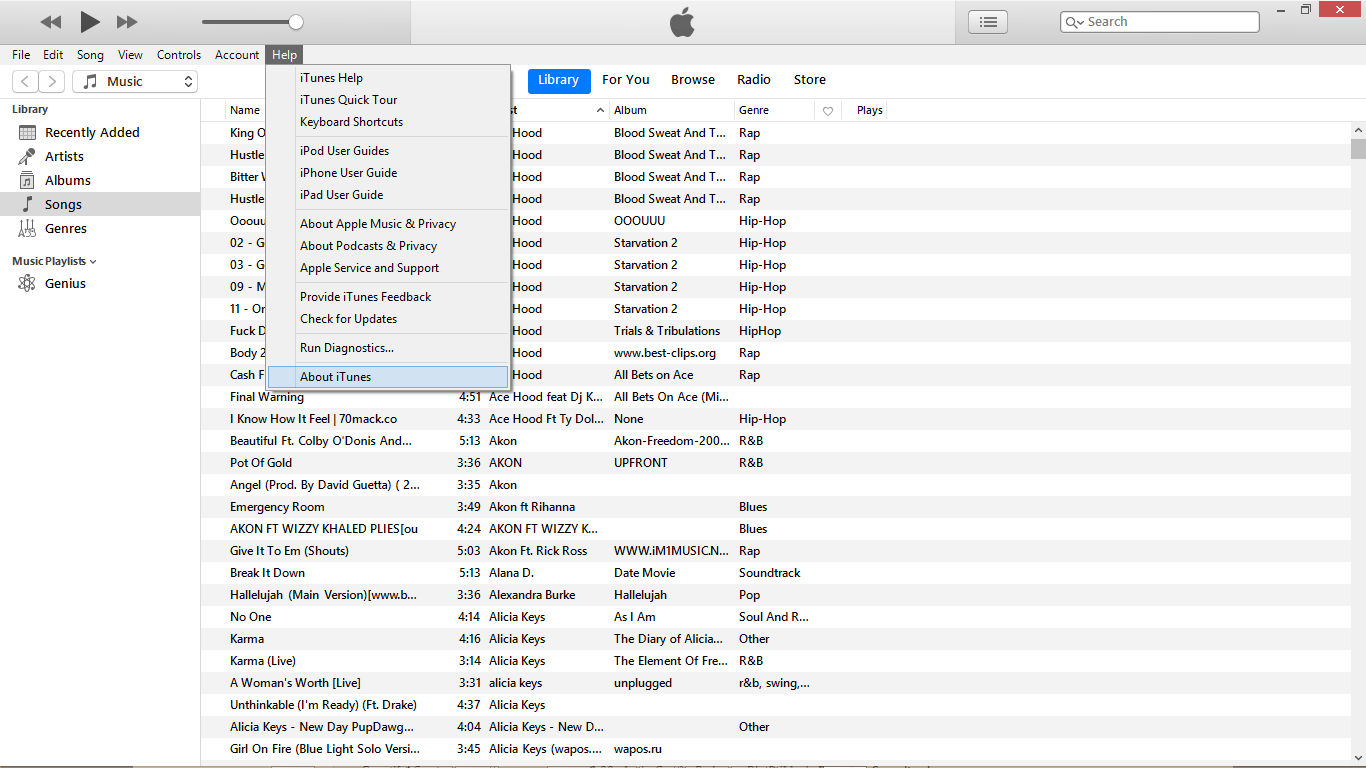
- For those of you still running Windows 7 the latest iTunes might tell you to update your PC to “Service Pack 1” before it can be installed. So if you do have that trouble and you can access a PC which has windows 8 and above then it will be ok, or you can update the PC by installing the Service Pack 1.
- Now do open the iTunes Software on your PC first and connect your iPhone to it with your USB cable.
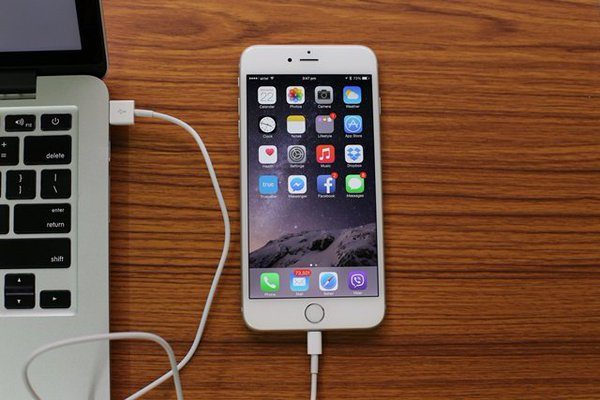
FIRST SHOWING YOU HOW TO UPDATE YOUR iPHONE TO THE LATEST I.O.S. AVAILABLE.
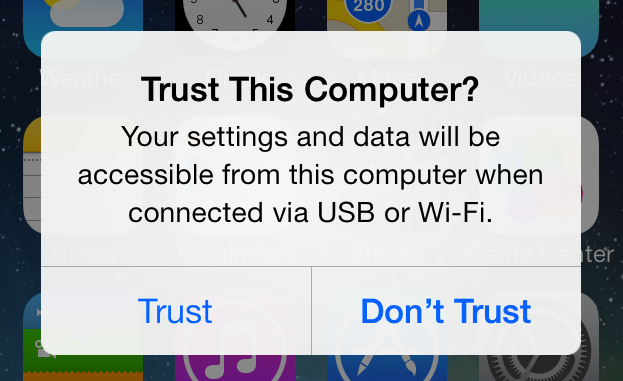
- Make sure you do accept trust on your iPhone like it will not connect to your PC.
- Click to the iPhone icon on iTunes as you will see in the photo below. Take note is the small high-lighted tap.
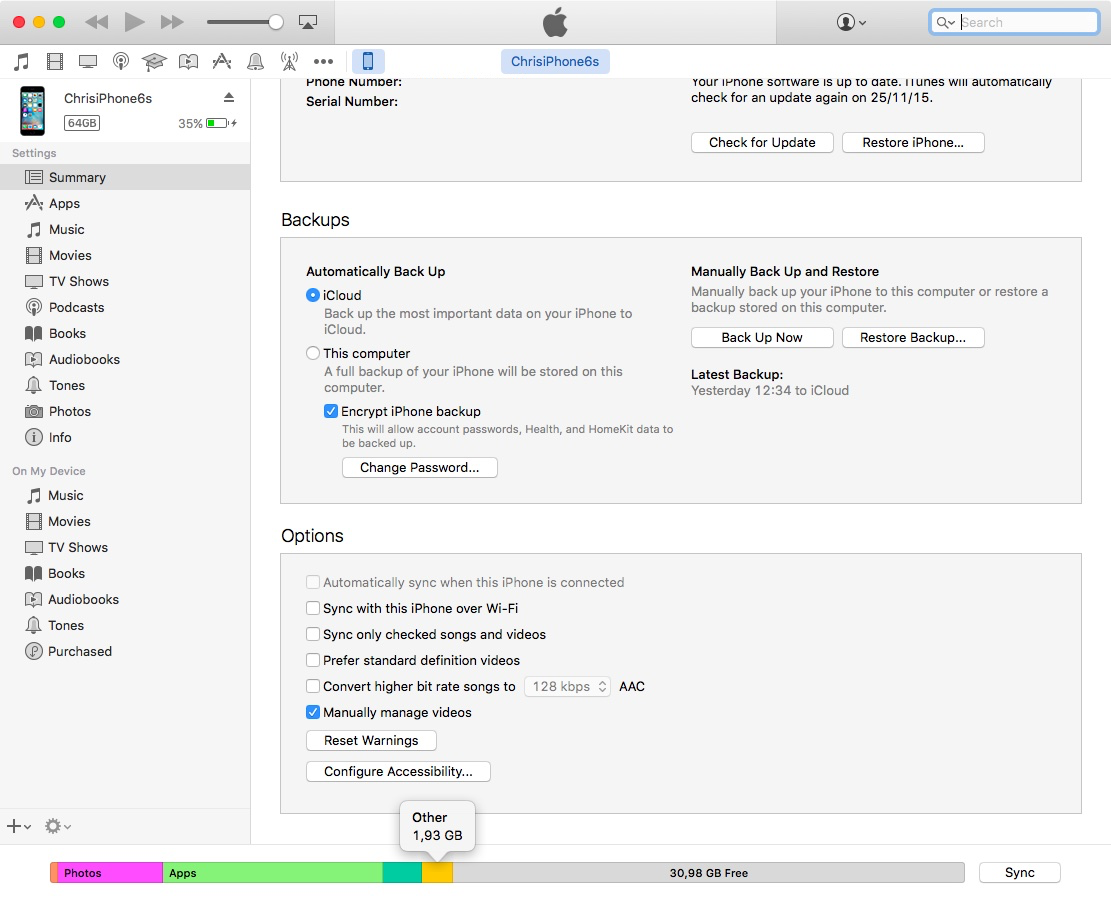
- So before you do continue with your update first do check if your device has at-least 2 to 3 or 4GB of free space. If not, the update won’t go through as a result of low space in your device. To know this just go to your device and select "Settings" app, then scroll down by selecting the "General" tap and then do select the "About" tap, and you will know the actual space available. iTunes can also show it to you below when synchronization is done.
- Turn off your phone password and you may turn it on later.
- You will need to off “Find My iPhone” not that necessary but if you can just do it.
- From there you will need to follow the instructions being displayed on iTunes.
- If you do wish to update your device to the latest I.O.S. software, iTunes will just do that and take you to the latest I.O.S. available for your device.
- If your internet is Slow, it will cause iTunes not to download or delay in downloading your firmware file due to the slow network, we will recommend you do go to this site (right click on "ipsw.me." and open a new tab) to download your latest firmware file. But if you are confident your network speed is good then don’t border. The package file from iPhone 5 and above can be about 2 to 3.5 GB of data.
- From this site you will select your iPhone model and do download the package file.
- Just wait for it to download first, and when it’s done go back to iTunes and select your device as seen above.
- Now you will see the update button but before clicking to it, if you did actually downloaded your firmware file from another site as explained above you will need to first press the “Shift” Key on your keyboard before clicking to the update buttons. Doing this a new windows tap will appear and from there you can go to where the file was downloaded and save and do select it. But if you never did download your firmware file from another source as a result of that, you do believe your internet speed is that good then just click to the update button and follow the on-screen instructions.
- Make sure your device is not disconnected as of this moment.
- When the downloading is complete in iTunes as you will see on iTunes at the top right corner of iTunes (or you selected it from your downloaded folder.) then you will wait for iTunes to extract your firmware and update it. This will take some time.
- Now all you will have to do is wait for iTunes to complete your update.
HOW TO RESTORE YOUR iPHONE TO THE LATEST I.O.S. AVAILABLE.
- First what you should know when restoring your iPhone is that all content like photos, messages, notes etc. will be deleted excepted you did a manual backup on iTunes or you stuff are backup to iCloud.
- Most at times people do a clean restore to start afresh but we do restore devices when it has some major issue that updating your device can solve.
- Ok after downloading your firmware file as seen above or not, you will now have to either put your device on recovery or DFU mode (DFU - Device firmware update) as a result of restoring your device because of a problem where by you can’t access the phone normally.
Putting iPhone 4 right up to 6S Plus on recovery mode is easy. Make sure the phone is switch off and not connected to any charger. Put your finger on the home button by pressing it first and do make sure iTunes is open on your PC and now connect the iPhone to the cable connected to your PC. Keep pressing the home button and don’t let go until the recovery screen thus appears as seen below.
- But putting iPhone 7 and 7 Plus on recovery mode is not the same as putting the models below it on recovery mode. For iPhone 7 and 7 plus you will have to make sure the phone is turn off and do press the volume down button first before connecting the cable to it, and you will keep pressing until it enter recovery mode.
- While putting iPhone 8 and above model on recover mode, you will need to also power it off first and when you are sure is completely off:
-Press the volume down key first.
-While pressing the volume down button do connect your USB cable from your PC to the iPhone and at the same time do also press the power button at once.
-Do wait for about 4 to 6 second and it will enter recovery mode
NOW PUTTING YOUR IPHONE ON DFU IS TOTALLY DIFFERENT FROM PUTTING YOUR IPHONE ON RECOVERY MODE.
- When you device is on DFU mode you cannot update it, you can only do a complete restore to that device.
- When your device is on DFU mode the screen will be total black and its only iTunes or any other program on your PC that will recognize it.
- Putting iPhone 4 right up to 6S Plus on DFU mode is also easy.
Make sure the device remains on.
Now connect your iPhone to the USB cable connected to the PC you do wish to use and make sure iTunes is already open.
Now do press the Power button and home button at once and count from 1 to 10 normally then release the power button and keep pressing the home button until it enters DFU mode which will indicate on your PC by iTunes that your Device is on DFU mode.
- But putting iPhone 7 and 7 Plus on DFU mode will also require you to connect your device to a USB cable and do Press the power button and volume down from 1 to 10 count normally and then on the ten count release the power button and keep pressing the volume down button until iTunes indicates is on DFU mode.
- Now putting your iPhone 8 and above models on DFU is a little bit complex but not that hard.
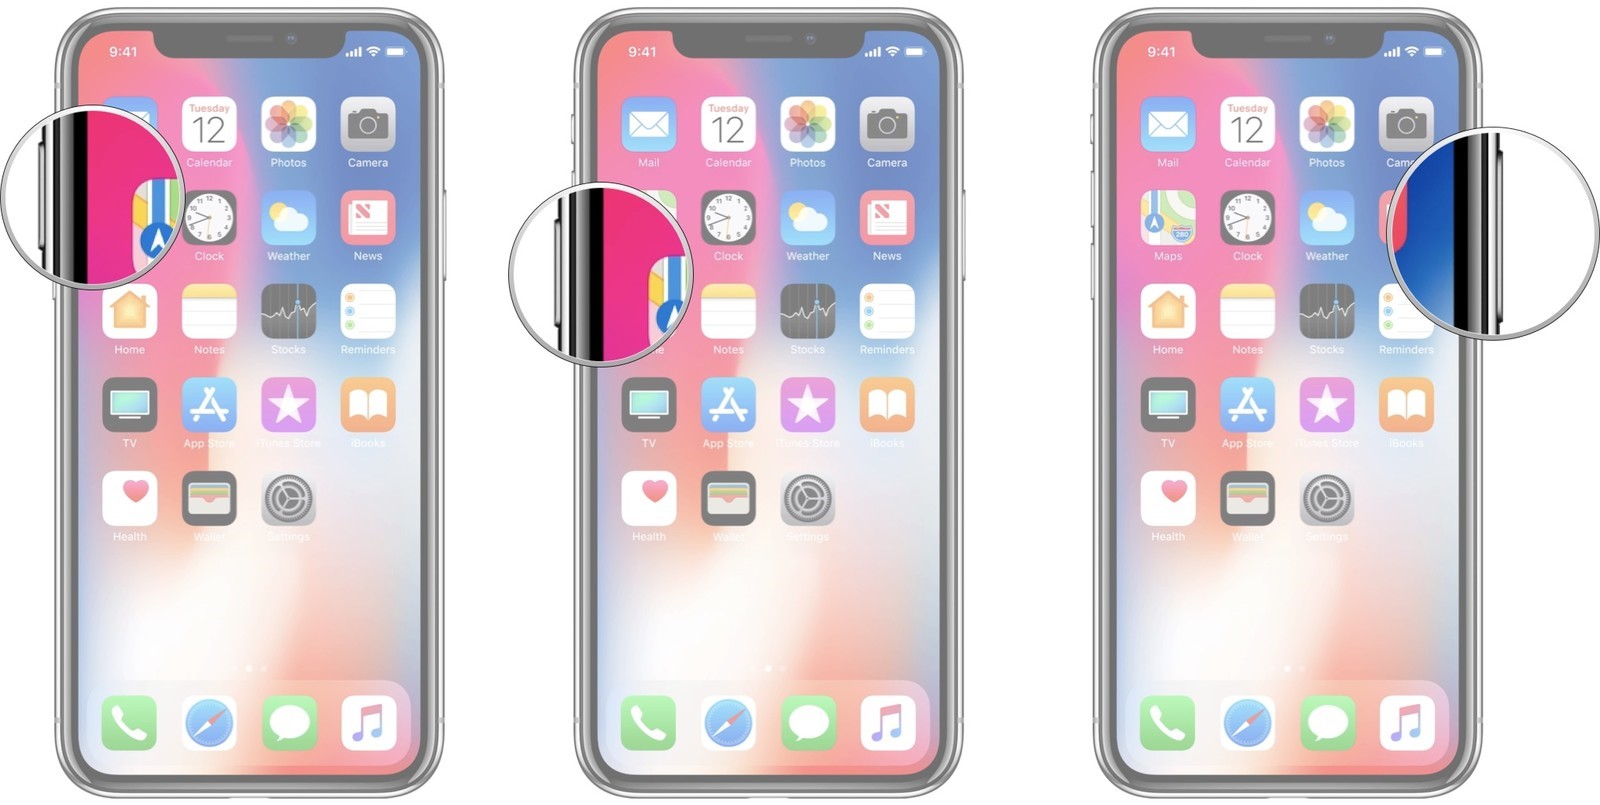
-Plug your iPhone X or iPhone 8 into your Mac or PC.
-Make sure iTunes is running.
-Turn Off your iPhone X or iPhone 8 (if it isn't already).
-Press and hold down the On/Off button on the right side of your iPhone for 3 seconds.
-Press and hold down the volume down button on the left side of your iPhone while still holding down the On/Off button.
Keep holding both buttons down for 10 seconds. (If you see the Apple logo, you've held them too long and will need to start again.)
Let go of the On/Off Button but keep holding the volume down button for about 5 seconds. (If you see the "Plug into iTunes" screen, then you've held it too long and will need to start again.)
At this point, iTunes should show you an alert saying it's detected your iPhone 8 and will allow it to be restored.
REMINDER: IF YOU SEE ANY LOGOS ON YOUR DEVICE, YOU MIGHT BE IN RECOVERY MODE, BUT YOU'RE NOT IN DFU MODE. IF RECOVERY MODE WORKS, GREAT. IF NOT, TRY FOR DFU MODE AGAIN.
DO HAVE A NICE DAY.
Follow us on Twitter - @akatechsolution / @smartdevicess
Leave a Comment
"Making the simple complicated is commonplace; making the complicated simple, awesomely simple, that's creativity"
- Charles Mingus




.png)
.png)


